# 2. Create a Streaming Web App

In [Part 1](https://docs-preview.optiview.dolby.com/pr-863/millicast/getting-started/using-the-dashboard.md) we reviewed how-to log into your OptiView Real-time Streaming Dashboard, create a publish token, start a broadcast, and playback that broadcast in the hosted web viewer or in an iframe, all without writing any code. We'll continue getting started by substituting the broadcast and playback components with a custom-built web application.

This tutorial is split into three sections:

* [Embed the Hosted Streaming Viewer in an iFrame](#embed-the-streaming-viewer-in-an-iframe)
* [Playback from a Custom Web Application](#playback-from-a-custom-web-application)
* [Broadcast from a Custom Web Application](#broadcast-from-a-custom-web-application)

## Embed the streaming viewer in an iFrame

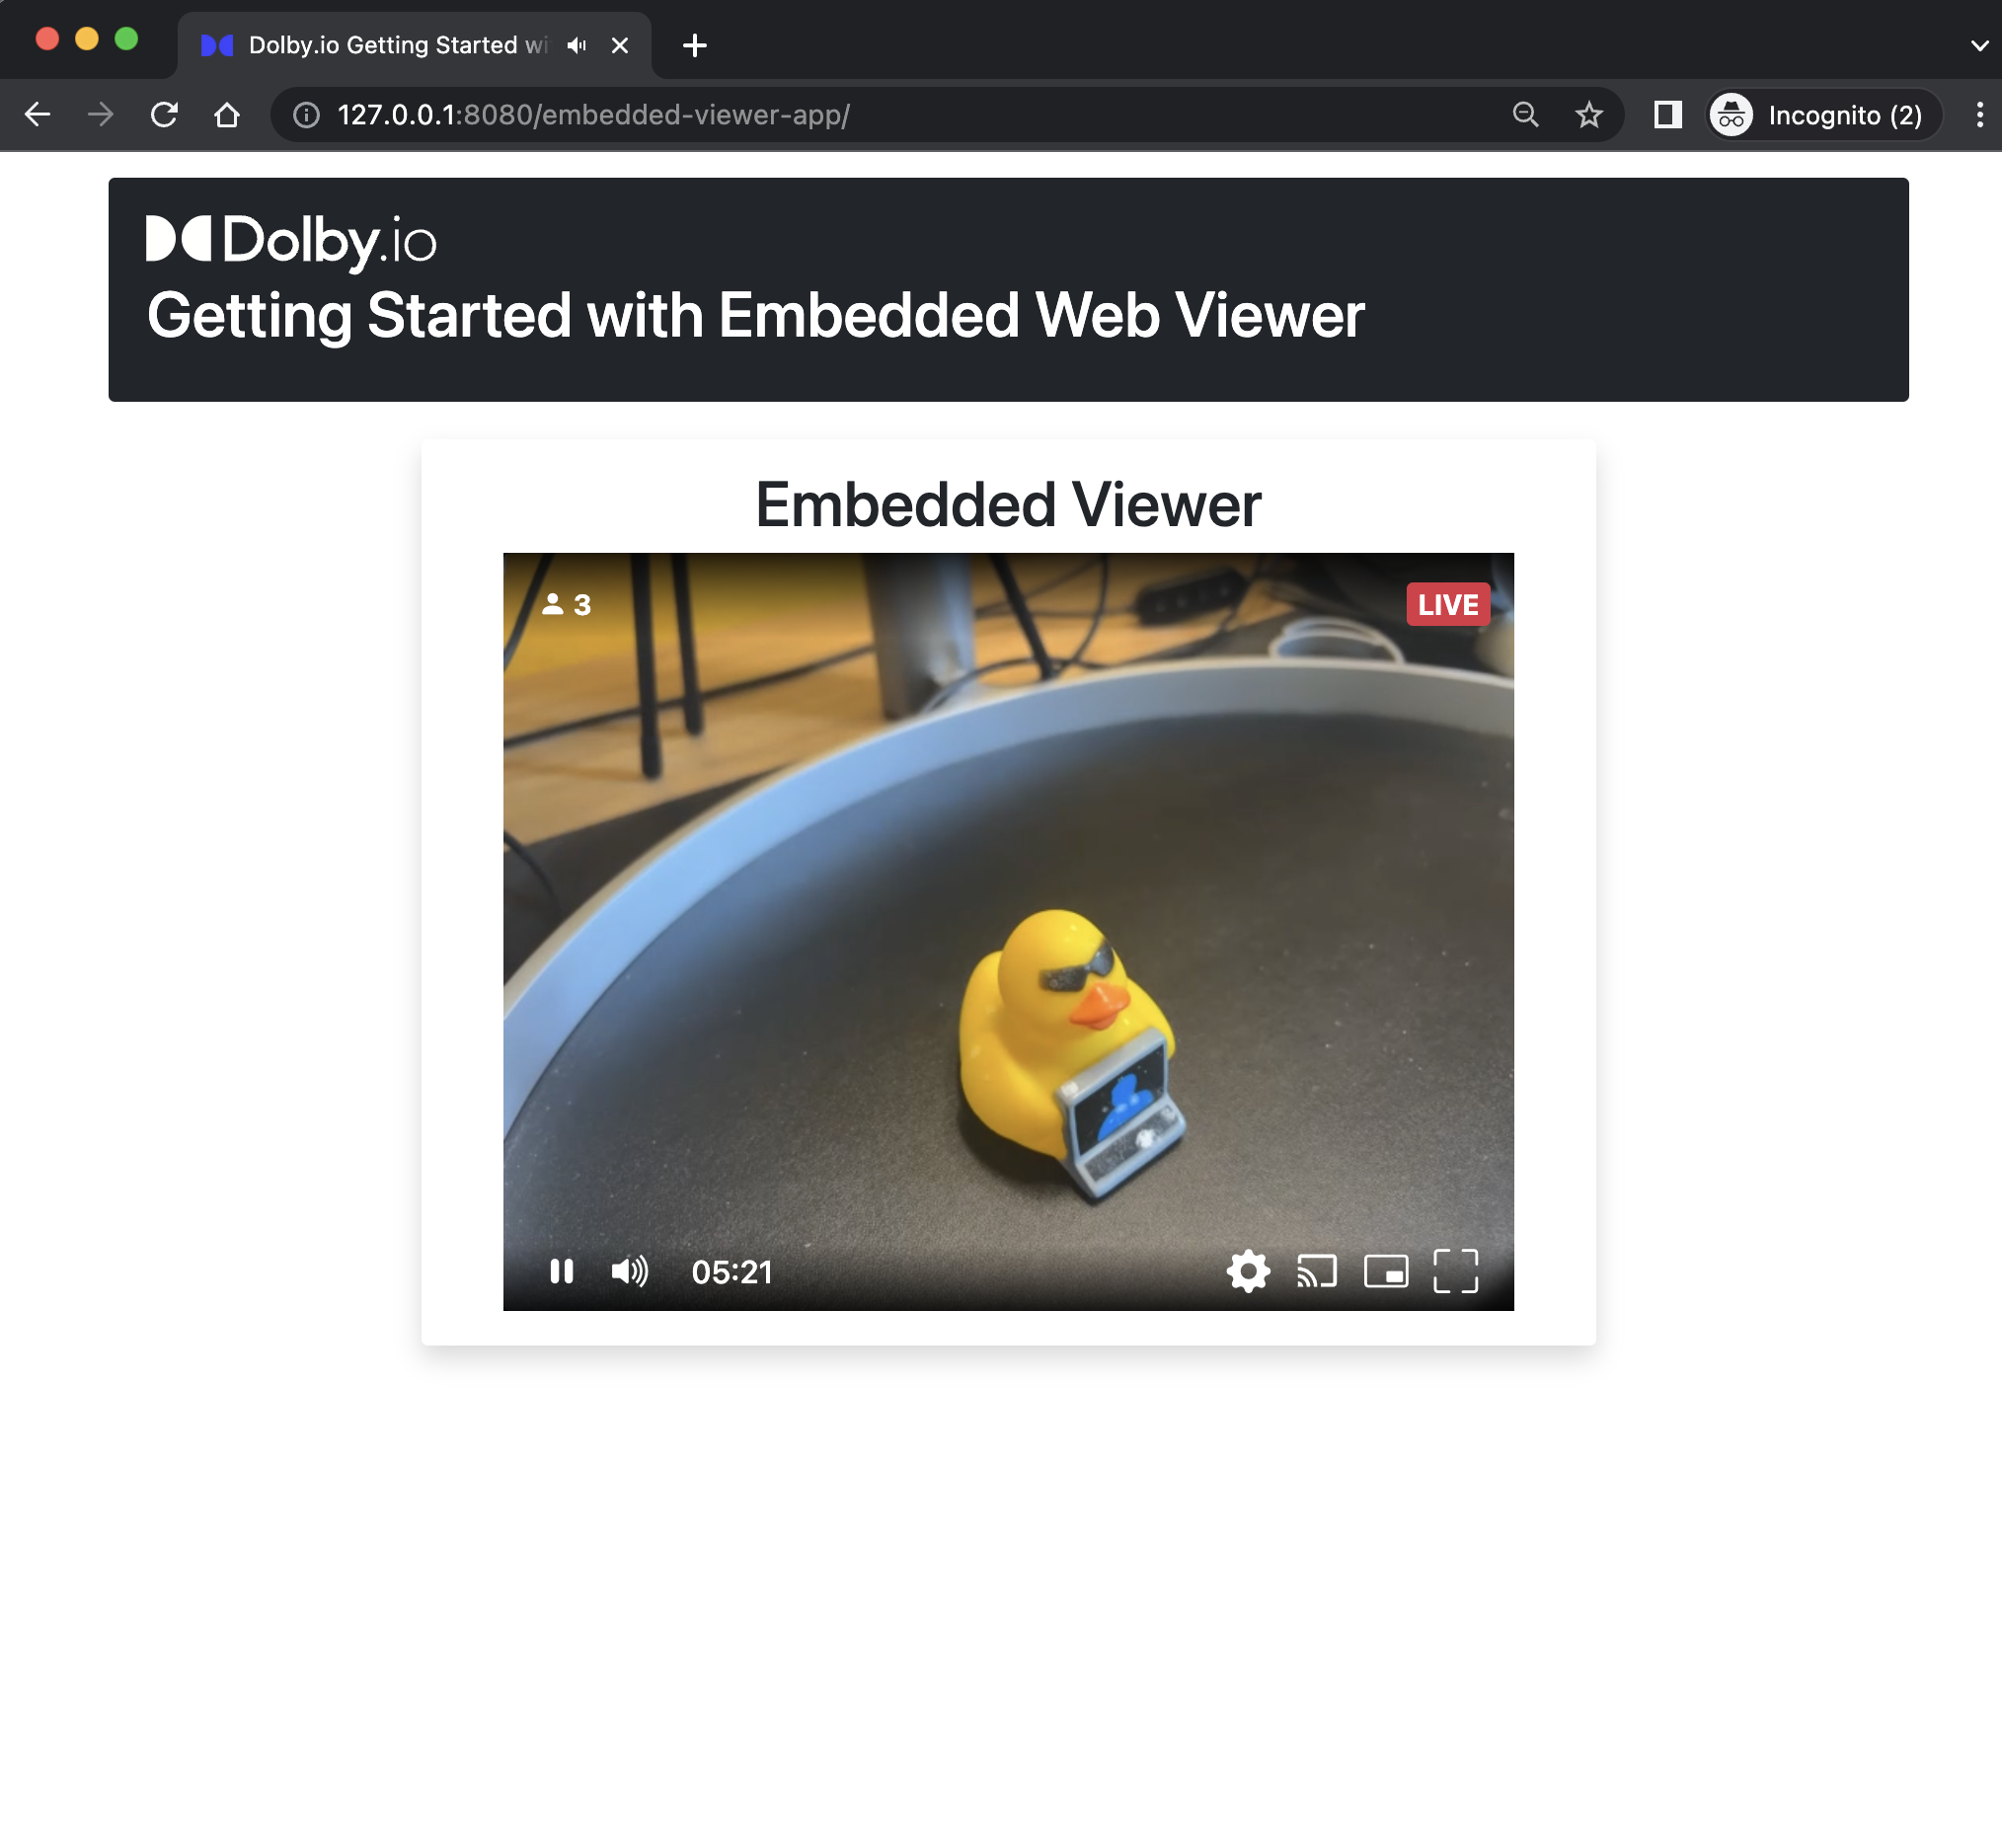
In [Part 1 - Using the Streaming Dashboard](https://docs-preview.optiview.dolby.com/pr-863/millicast/getting-started/using-the-dashboard.md), you may have noticed the **Hosted Viewer iFrame**. You can copy and paste the `<iframe>` directly into your own web application and replace the *streamId* and *streamName* with your own.

```html
<iframe src="https://viewer.millicast.com?streamId=accountId/streamName" allowfullscreen width="640" height="480"> </iframe>
```

This is the simplest way to get up and running quickly with your own web application. This works well for long-running streams or one-time live events.
![](/pr-863/assets/images/dolbyio-web-embedded-viewer-live-23b73818a230c6c80282fb3dff886b0a.png)

If you click the `Customize` button in the Playback Dashboard you'll see there are lots of options you can use to include or exclude playback behaviors. The [How to Broadcast in Dashboard](https://docs-preview.optiview.dolby.com/pr-863/millicast/how-to-broadcast-in-dashboard.md) page goes through these options in more detail.

## Playback from a custom web application

In the previous part, we were able to begin to [broadcast](https://docs-preview.optiview.dolby.com/pr-863/millicast/broadcast.md) a stream and [playback](https://docs-preview.optiview.dolby.com/pr-863/millicast/playback.md) that stream in a hosted web viewer application. For more complex projects, you may need more control over the end-user experience. To demonstrate this, we'll build a custom web application to playback and view the stream using the same publish token created from the dashboard.

### a. Clone the Getting Started repository

Clone the repository: [dolbyio-samples/stream-sdk-web-getting-started](https://github.com/dolbyio-samples/stream-sdk-web-getting-started).

```shell
git clone https://github.com/dolbyio-samples/stream-sdk-web-getting-started.git
cd stream-sdk-web-getting-started/playback-app
```

This starter project includes a folder for the **playback-app**. The folder includes the scaffolding of a not-yet-functional single-page web application. This application is using [Bootstrap](https://getbootstrap.com/) to add basic layout and functional behaviors. Bootstrap is not a requirement, you can use other libraries that may fit your particular application needs and preferences. What's important is that we've added buttons, which we can assign behavior to as we continue.

#### View the app locally

There are many ways you can view static HTML in a web browser.

a) You can open the file directly from your operating system with a **file://** path in your browser.

b) You can use a development web server like those available in [python3](https://docs.python.org/3/library/http.server.html) or [node](https://www.npmjs.com/package/live-server) if you have them installed to view the app in your browser.

**Python**

```shell
python3 -m http.server
```

**Node**

```shell
npx live-server
```

**local file**

```shell
open index.html
```

You'll be editing a single **index.html** file to add streaming capabilities so you may need to refresh the application as you make changes in each step that follows.

### b. Include the Web SDK

To dynamically generate a viewer you should use the [Web SDK](https://docs-preview.optiview.dolby.com/pr-863/millicast/playback/players-sdks/web/sdk.md) in your application. You can do this by adding a `<script>` element in the `<head>` section to include the SDK from a hosted location such as a [CDN](https://www.jsdelivr.com/package/npm/@millicast/sdk).

playback-app/index.html

```html
<!-- Step 2.1b: Include Millicast Web SDK -->
<script src="https://cdn.jsdelivr.net/npm/@millicast/sdk/dist/millicast.umd.min.js"></script>
```

> **Using the Millicast SDK**
>
> Review the [Web SDK](https://docs-preview.optiview.dolby.com/pr-863/millicast/playback/players-sdks/web/sdk.md) documentation for additional installation methods such as with `npm`. The Streaming API used to be known as Millicast so the SDK uses that name when importing the library.
>
> When importing the SDK from jsdelivr you will automatically be updated to the latest version. This is fine for development, but it is strongly recommended to pin to a specific version release in order to increase stability when you move to production.

### c. Configure account ID and stream name

In [Part 1](https://docs-preview.optiview.dolby.com/pr-863/millicast/getting-started/using-the-dashboard.md) we created a stream with a unique name such as *myStreamName*. You'll need to add that to the code along with the **Account ID** that is associated with the publishing token. You can find both of these values from the OptiView Real-time Streaming Dashboard.

```js
// Step 2.1c: Set your account id and stream name while Getting Started
const yourStreamAccountId = 'ENTER ACCOUNT ID';
const yourStreamName = 'ENTER YOUR STREAM NAME';

// Callback to generate a subscriber token with credentials
const tokenGenerator = () =>
  millicast.Director.getSubscriber({
    streamName: yourStreamName,
    streamAccountId: yourStreamAccountId,
  });
```

### d. Attach a view

The `View` class is used to manage the WebRTC connection with the server that is distributing the real-time stream. The `streaming-video-placeholder` is the **id** of a `<video>` element within the application.

```js
// Step 2.1d: Attach a millicast view to the placeholder node
const videoNode = document.getElementById('streaming-video-placeholder');
const millicastView = new millicast.View(undefined, tokenGenerator);
millicastView.on('track', (event) => {
  console.log('Stream has started.');
  videoNode.srcObject = event.streams[0];
  videoNode.hidden = false;
  videoNode.autoplay = true;
});
```

### e. Connect to the stream

The `connect` method can take a few different options which you can learn more about in the [reference documentation](https://millicast.github.io/millicast-sdk/View.html#connect).

```js
// Step 2.1e: Start connection to a publishing stream
try {
  await millicastView.connect();
} catch (e) {
  if (!millicastView.isActive()) {
    console.log('Stream is not live, the broadcast will begin soon.');
  }

  console.log('Connection failed:', e);
  millicastView.reconnect();
}
```

If you start broadcasting using the OptiView Real-time Streaming Dashboard as you did in [Part 1](https://docs-preview.optiview.dolby.com/pr-863/millicast/getting-started/using-the-dashboard.md), you will then have a simple web app with video playback to continue customizing.

![](/pr-863/assets/images/dolbyio-web-playback-5fb85b3814b408ceea5ced5c9a53bd06.png)

## Broadcast from a custom web application

For this section, you can use the hosted playback viewer or the *playback-app* you just built in the last section. This section will help you build a separate app that would be used to [Capture](https://docs-preview.optiview.dolby.com/pr-863/millicast/capture.md) and broadcast streaming content.

### a. Clone the Getting Started repository

Clone the repository [dolbyio-samples/stream-sdk-web-getting-started](https://github.com/dolbyio-samples/stream-sdk-web-getting-started) as described in the first section but this time we'll be working the with **broadcast-app** folder. You can view the app locally using the same tools described in the previous section.

```shell
git clone https://github.com/dolbyio-samples/stream-sdk-web-getting-started.git
cd stream-sdk-web-getting-started/broadcast-app
```

The [Web SDK](https://docs-preview.optiview.dolby.com/pr-863/millicast/playback/players-sdks/web/sdk.md) is pulled in with a `<script>` element from a CDN in the same way as is done for the playback-app.

### b. Configure publishing token and stream name

You'll need to retrieve the **Publishing Token** from the OptiView Real-time Streaming Dashboard that corresponds with the *streamName* used in the *playback-app* section.

```js
// Step 2.2b: Set your account id and stream name while Getting Started
const yourPublishingToken = 'ENTER PUBLISHING TOKEN';
const yourStreamAccountId = 'ENTER ACCOUNT ID';
const yourStreamName = 'ENTER YOUR STREAM NAME';

const tokenGenerator = () =>
  millicast.Director.getPublisher({
    token: yourPublishingToken,
    streamName: yourStreamName,
  });

// Callback to generate a publisher token with credentials
const publisher = new millicast.Publish(undefined, tokenGenerator);
```

### c. Attach media stream to broadcast

The `getUserMedia()` function is used to capture an incoming media stream from the user's camera and microphone. To verify that this is working, we provide a mirror of the audio and video in a video element. This is happening locally within the web browser.

To begin broadcasting, we must `connect()` the publisher to the *mediaStream*.

```js
// Step 2.2c: Attach a millicast view to the placeholder node
const startStreaming = async () => {
  // Request access to the video camera and microphone
  const mediaStream = await navigator.mediaDevices.getUserMedia({
    audio: true,
    video: true,
  });

  // Provide mirror in a video element of the capture
  const videoNode = document.getElementById('streaming-video-placeholder');
  videoNode.srcObject = mediaStream;
  videoNode.hidden = false;
  videoNode.autoplay = true;

  // Broadcast captured audio and video
  const broadcastOptions = {
    mediaStream: mediaStream,
  };

  try {
    await publisher.connect(broadcastOptions);
    console.log('Broadcast has begun.');

    // Example to playback with the hosted viewer
    const viewerUrl = `https://viewer.millicast.com?streamId=${yourStreamAccountId}/${yourStreamName}`;
    document.getElementById('viewer-url').innerHTML = `<a href="${viewerUrl}" target="_new">${viewerUrl}</a>`;
  } catch (e) {
    console.error('Failed to begin broadcast', e);
  }
};

// Handle button click to begin
document.getElementById('btn-start').onclick = async () => {
  await startStreaming();
};
```

The `viewerUrl` provides a convenient link to the hosted playback viewer so that you can verify the broadcast is working.

![](/pr-863/assets/images/dolbyio-web-broadcast-6fc9e0d5d673f9cc321db35f4d65c74d.png)

### d. Stop the broadcast

For a good end-user experience, you will want to `stop()` publishing when the broadcast is complete.

```js
// Step 2.2d: Stop the broadcast
document.getElementById('btn-stop').onclick = () => {
  publisher.stop();
  location.reload();
};
```

## Continue learning

These starter apps were kept simple for the purpose of getting started. You can reuse these samples in your preferred JavaScript framework such as React, VueJS, Angular, etc. as you customize the user experience of joining a stream, handling when a stream hasn't started, maintaining button state, etc.

Continue by exploring the [Streaming Web SDK](https://docs-preview.optiview.dolby.com/pr-863/millicast/playback/players-sdks/web/sdk.md) documentation for a guide on other functions as you continue building your own project.

## Troubleshooting

### 400 (Bad Request)

When you try to connect to a stream that has not yet begun to broadcast, you may see a `400 (Bad Request)` error. This is expected, so you will want to create a user experience that does not attempt to **connect()** prematurely, by first checking if a broadcast has begun.

```http
POST https://director.millicast.com/api/director/subscribe 400 (Bad Request)
```
